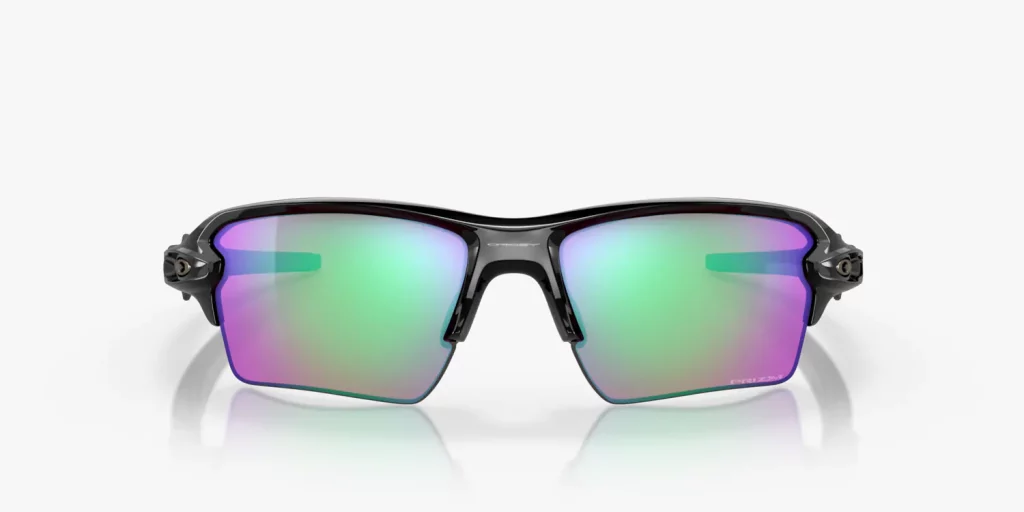
Are your favorite pair of sunglasses scratched, but you love the frame too much to let them go? Or perhaps you just want to switch up the color of your lenses. If either of these scenarios sound familiar, then this guide is for you. We’ll be discussing a step-by-step process on how to remove lenses from sunglasses safely without damaging the frames.
The replacement or removal of sunglass lenses might seem like a task best left to professionals, but with the right tools, a bit of patience, and this guide, you’ll be able to safely remove your sunglass lenses at home.
Materials Needed
Before we begin the process, it’s essential to have the right tools and materials ready. Here’s what you’ll need:
- Hair Dryer: This helps to warm up the frames and make them more flexible, which makes the lens removal process easier.
- Microfiber Cloth: This will be used to clean your lenses and frames and provide a safer grip when handling the glasses.
- Plastic Pry Tool or Tweezers: You’ll need these to carefully pry the lenses from the frames.
- Gloves: Optional but recommended to protect your hands and avoid leaving fingerprints on your lenses.
Understanding the Type of Sunglasses

Sunglasses come in different styles and types, and understanding yours is critical to the lens removal process.
Full Frame Sunglasses
The lenses on these types of glasses are entirely encircled by the frame, and they tend to hold the lenses very securely. Be prepared to carefully work around the entire circumference of the lens during removal.
Semi-Rimless and Rimless Sunglasses
The lenses on these types of glasses may be held in place by a wire or thin frame on the top or bottom, or they may be secured only at the bridge or the arms. These types can be slightly easier to handle because there is less frame to work around, but they may also be more delicate.
Removing Lenses from Sunglasses
Step 1: Cleaning the Sunglasses
First, clean your sunglasses with the microfiber cloth to remove any dirt or oils. This will help you grip better and prevent any smudges or additional scratches on the lenses.
Step 2: Warming the Frames
Using your hair dryer, warm up the frame for about 30 seconds to a minute. Keep the hairdryer at a safe distance to avoid overheating or melting the frames.
Step 3: Removing the Lens
Start from a corner of the lens and gently insert the plastic pry tool or the edge of the tweezers between the lens and the frame. Remember to do this gently to avoid damaging the frame or the lens.
Step 4: Working Around the Frame
Slowly work your way around the frame, carefully prying the lens out bit by bit. For full-frame sunglasses, ensure that you’ve loosened the lens from the frame entirely before attempting to remove it.
Tips to Prevent Damage
- Be patient: The process requires a delicate touch and patience to ensure no damage is done to the frame or lenses. If the lens doesn’t come out, don’t force it. Return to warming up the frame and try again.
- Use the right tools: Using metal tools or excessive force could lead to damage. Always use plastic tools where possible, and gently wedge them between the lens and frame.
- Cool down before refitting: If you plan to refit the lenses or fit new ones, ensure that the frames have cooled down before doing so. This will avoid any potential warping of the frame or new lenses.
Conclusion
Removing the lenses from sunglasses can be a practical skill, especially if you wish to replace scratched or damaged lenses. While it might appear daunting at first, with the right tools, patience, and steps outlined above, you’ll be able to remove your sunglass lenses in no time. However, always remember that if the task seems too difficult or if the glasses are very expensive or delicate, it might be better to seek the help of a professional.


Recent Comments