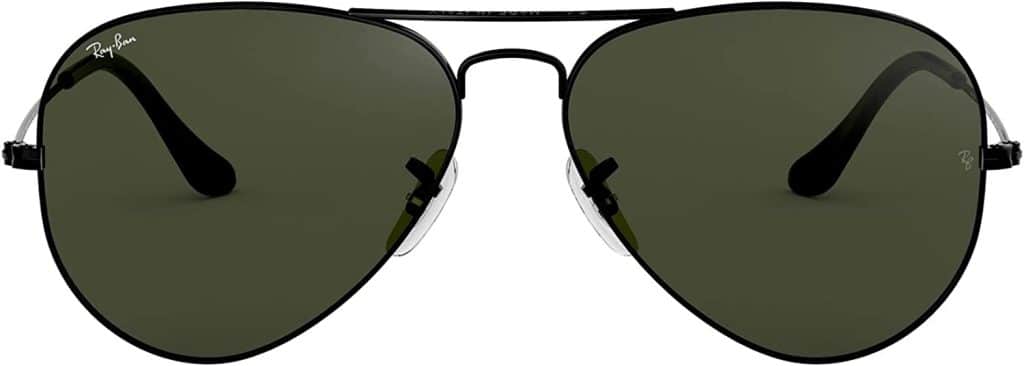
Ray-Ban Aviator sunglasses are iconic and timeless, known for their classic design and superior quality. Over time, the lenses of your Ray-Ban Aviator sunglasses may become scratched, damaged, or worn out. Thankfully, replacing the lenses is a relatively simple process that can breathe new life into your beloved sunglasses. In this guide, we will walk you through the steps on how to replace Ray Ban Aviator lenses.
Steps to Replace Ray Ban Aviator Lenses

Let’s get started.
1. Gather the necessary tools and materials
Before you begin, make sure you have all the tools and materials you will need for the lens replacement. Here’s a list of what you’ll require:
- Replacement lenses: Purchase authentic Ray-Ban replacement lenses that are specifically designed for your Aviator model. It’s crucial to buy genuine lenses to ensure proper fit and UV protection.
- Microfiber cloth: This will help you clean the lenses and prevent scratches during the replacement process.
- Screwdriver: Depending on the model, you may need a small screwdriver to remove the screws holding the lenses in place.
- Tweezers: These will be useful for handling small parts and screws.
- Lens cleaning solution: Use a specialized lens cleaning solution to thoroughly clean the lenses before installation.
2. Remove the old lenses
Start by laying a clean and soft surface, like a towel or microfiber cloth, on a flat and stable surface. This will protect your sunglasses from scratches during the lens replacement process. Follow these steps to remove the old lenses:
- Open the sunglasses and gently grasp one of the lenses between your thumb and index finger.
- Look for the tiny screws that hold the lens in place near the nose bridge. Use a screwdriver (usually a small Phillips or flathead) to carefully unscrew them. Place the screws in a safe spot to prevent losing them.
- Once the screws are removed, gently slide the lens out of the frame. Be careful not to apply excessive force or twist the frame, as this could cause damage.
- Repeat the process for the other lens, ensuring that you keep track of the screws and any other small parts.
3. Clean the frames
Now that the old lenses are removed, take the opportunity to clean the frames thoroughly. Use a soft cloth or a lens cleaning solution to wipe away any dirt or debris. Pay attention to the nose pads and the area around the lenses, as these can accumulate oils and residue over time.
4. Install the new lenses
Before installing the new lenses, ensure they are clean and free from any fingerprints or smudges. Follow these steps to install the new lenses:
- Hold the new lens by the edges to avoid leaving fingerprints or smudges on the surface.
- Align the lens with the frame, starting from the outer edge and gradually sliding it into position.
- Once the lens is aligned, insert the screws back into their respective holes using a screwdriver. Be careful not to overtighten the screws, as this could damage the frame.
- Repeat the process for the other lens, ensuring that they are securely fastened in place.
5. Clean and inspect the sunglasses
After replacing the lenses, it’s essential to clean the sunglasses once again to remove any fingerprints or smudges that may have occurred during the installation. Inspect the lenses for any visible defects or misalignments. If you notice any issues, repeat the installation process or consider seeking professional assistance.
Conclusion
Replacing the lenses of your Ray-Ban Aviator sunglasses is a straightforward process that can extend the life of your favorite eyewear. By following these steps and using genuine replacement lenses, you can enjoy clear vision and protect your eyes from harmful UV rays. Remember to take your time and handle the sunglasses with care to avoid any accidental damage. With a little effort, you’ll have your Ray-Ban Aviators looking brand new and ready to accompany you on your next sunny adventure.


Recent Comments